In our first series on label design for beginners, we’ll discuss creating pressure-sensitive labels. These are essentially “sticker” labels that are applied to jars, tubs, and cans, are far and away the most popular type of label. They’re easy to apply; relatively inexpensive; durable; and available in a huge variety of sizes, shapes, and materials. In fact, the biggest disadvantage of pressure-sensitive labels is that the sheer number of options they offer can be a bit overwhelming to the novice business-owner! In today’s blog, we unpack some of the choices at your disposal so you can create the perfect label for your products.
Step 1: Choose a shape
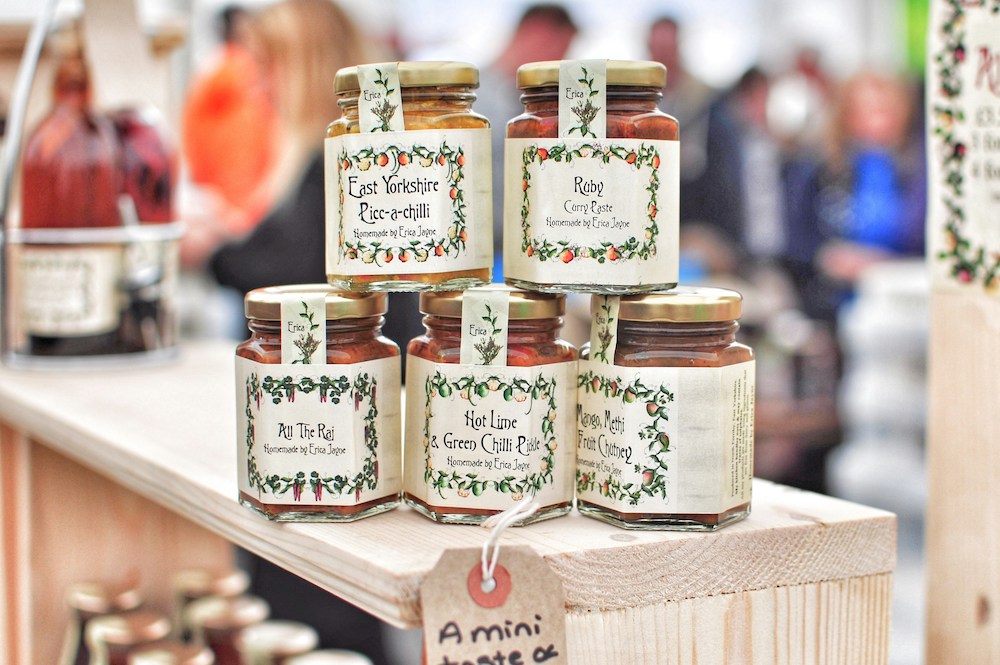
Most pressure-sensitive labels are rectangular, square, circular, or oval. While these are all fine options, you can also go wild with custom die-cut labels. Die-cut labels can be cut to any type of outline, which is why they are very popular with artists (you have probably seen die-cut labels on water bottles, laptops, and skateboards). While you don’t have to go with a die-cut label, it can be a great way to stick out in a crowded marketplace. You could even “cut away” certain sections of the label to give consumers a peek at the product within.
Remember to take logistics into consideration when settling on a label size and shape. If your item is very small, the label will need to be large enough to include all the necessary information, your logo, and the item name—which might limit your creativity a little bit.
Step 2: Choose a surface material
This is a fun step, as there are so many surface material options to choose from. These include:
- Plastic labels – waterproof and oil-resistant, extremely versatile, and widely used
- Vinyl labels – extremely durable, thick, and sturdy; water-, oil-, and chemical-resistant
- Metallic/holographic labels – unique, and eye-catching; often used in beauty and food
- Clear/ultra-clear labels – waterproof and oil-resistant, often used for bath products
- Paper labels (unlaminated) – economical and preferred by eco-friendly, holistic brands
- Paper labels (laminated) – less costly than plastic or vinyl, yet still water-resistant
In addition, you might also consider “textured” paper labels, which add a unique, three-dimensional feel to your products. You can also apply gloss, matte, or UV-resistant laminate to most of these label materials for an added level of protection.
Step 3: Choose an adhesive backing
For the vast majority of products, this doesn’t necessitate a great deal of consideration—you want the label to stick on the product, for as long as possible. However, there are some instances where you might want the label to be removable or semi-removable. If your brand is eco-friendly, choosing an adhesive that dissolves easily in hot water might encourage your buyers to reuse the product’s container for other purposes. Or perhaps you might purposefully make part of the label removable, so that buyers can apply it to other things, boosting your brand awareness. You could also make your product interactive, by encouraging the buyer to peel away part of the label to reveal some sort of code or surprise.
Step 4: Study the competition
The easiest way to get a beautiful, professional product label is to hire a graphic designer, and, if possible, a copywriter as well. Since you’re here, though, we’re guessing you’ve already weighed your options, and budget, and decided to go it alone. Your first step—and the one that a professional designer would take also—is to study, study, study. Carefully examine the labels of competitor products, not just in your immediate area, but across your entire industry. On the flip side, don’t limit yourself to just the biggest names in the business; some of the best label inspiration can come from small, independent designers and artists. Keep a folder of references, ideas, and notes on your desktop or online space of choice.
Step 5: Consider the essentials
Before you can dive into the creative side of things, take a moment to consider the practical stuff: fitting all the essential information and brand messaging onto the label. Your label should ideally include the product’s name, logo, ingredient list, net weight, and expiration date (if applicable). Depending on the item and local regulations, you may also need to include regulatory certifications, as well. Finally, it’s always a good idea to include a bar code, QR code, or serial number, in order to help with tracking and returns. Many of today’s label QR codes link to a website consumers can visit to learn more.
Step 6: Consider the “buffer zones”
One big mistake that people tend to make when designing their first label is forgetting to keep necessary margins and “bleed areas” around the design. For example, if you are planning to use a wrap-around label that fully covers a jar or bottle, you will probably need to leave a sliver of overlap at the end where the adhesive can be applied.
Even if you don’t need any overlap in your design, it’s a good rule of thumb to leave a blank margin around the entire design. This is because many printers can’t print all the way to the edge of a sheet, and having a margin will ensure that everything gets printed. Generally, a 1/4th of an inch margin is considered a safe “buffer zone.”
Step 7: Design!
Finally, it’s time to get down to business with the actual design. If you’re overwhelmed by all the possibilities presented by a blank canvas, the following label design for beginners tips may help.
- Don’t rely on templates. If you are using a free online design tool like Canva, be careful of losing your originality. Yes, having a premade template can be very useful, but everyone else with a Canva account will be able to use it, too.
- Don’t be afraid of simplicity. For some products, like craft beer labels, it’s okay to have complicated colors and patterns. But sometimes, limiting your color palette and leaving some white space can help your design look clean, bold, and uncluttered.
- Mix and match fonts. Font pairing, or using two contrasting looks in tandem, can add depth and keep a viewer engaged.
- Ensure readability. Generally, 6-point font is the smallest size that ensures readability. A 10-point font is usually good for more important information.
Label design for beginners and pros
Creating pressure-sensitive labels for your products is an involved job, but you can do it! By using the tips in this article, you can create stunning product labels that will help your handmade goods fly off the shelf. To learn more tips that can help you pack, ship, label, and track your small business products, be sure to check out the SSI Packaging Blog.